The Problem
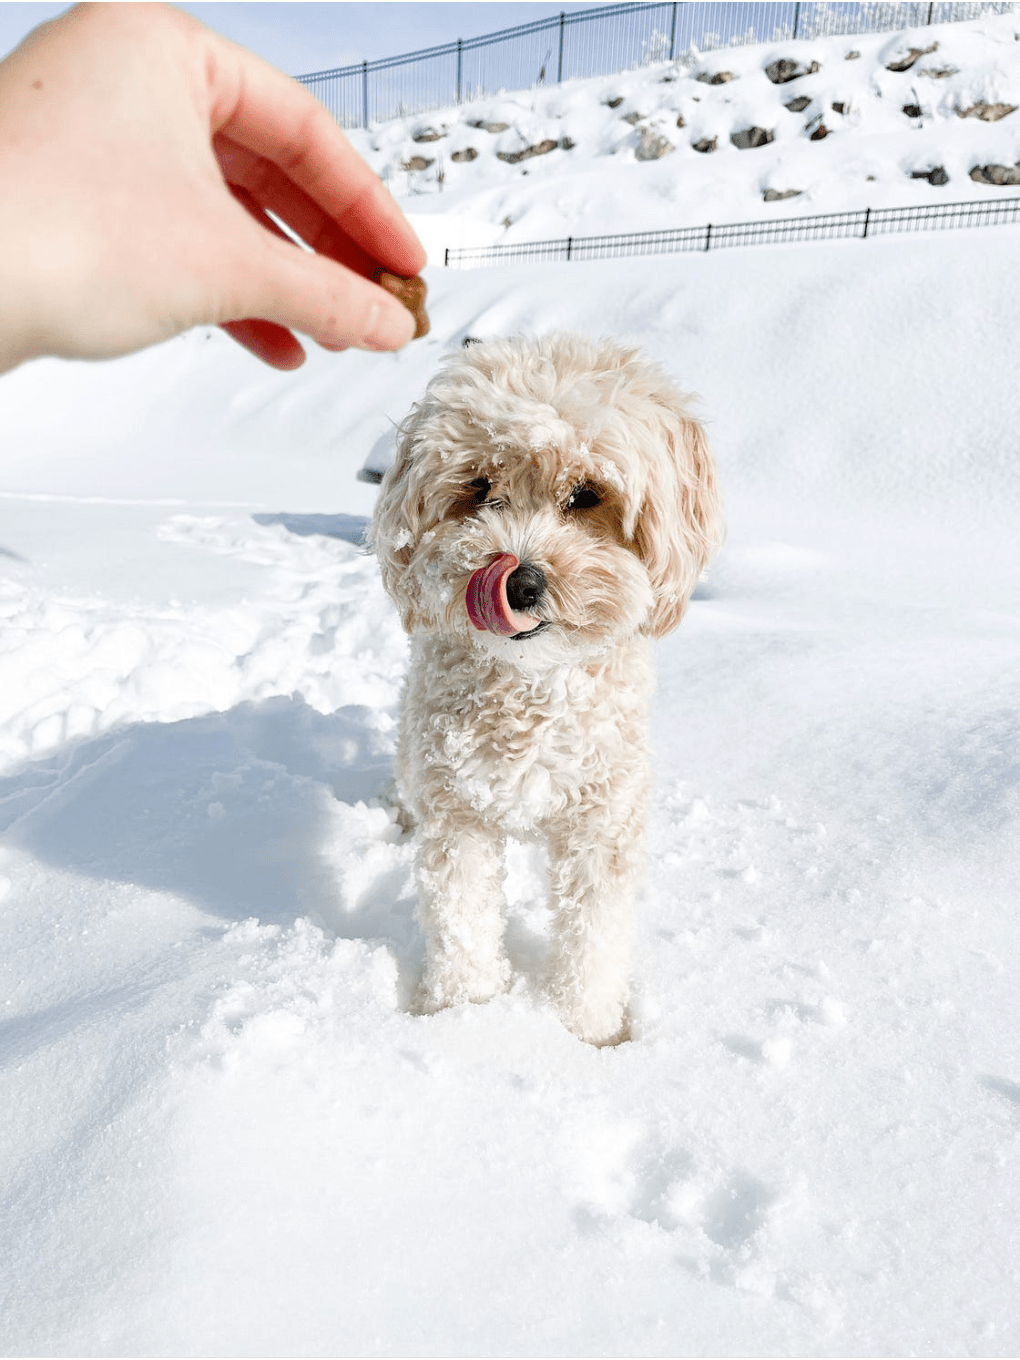
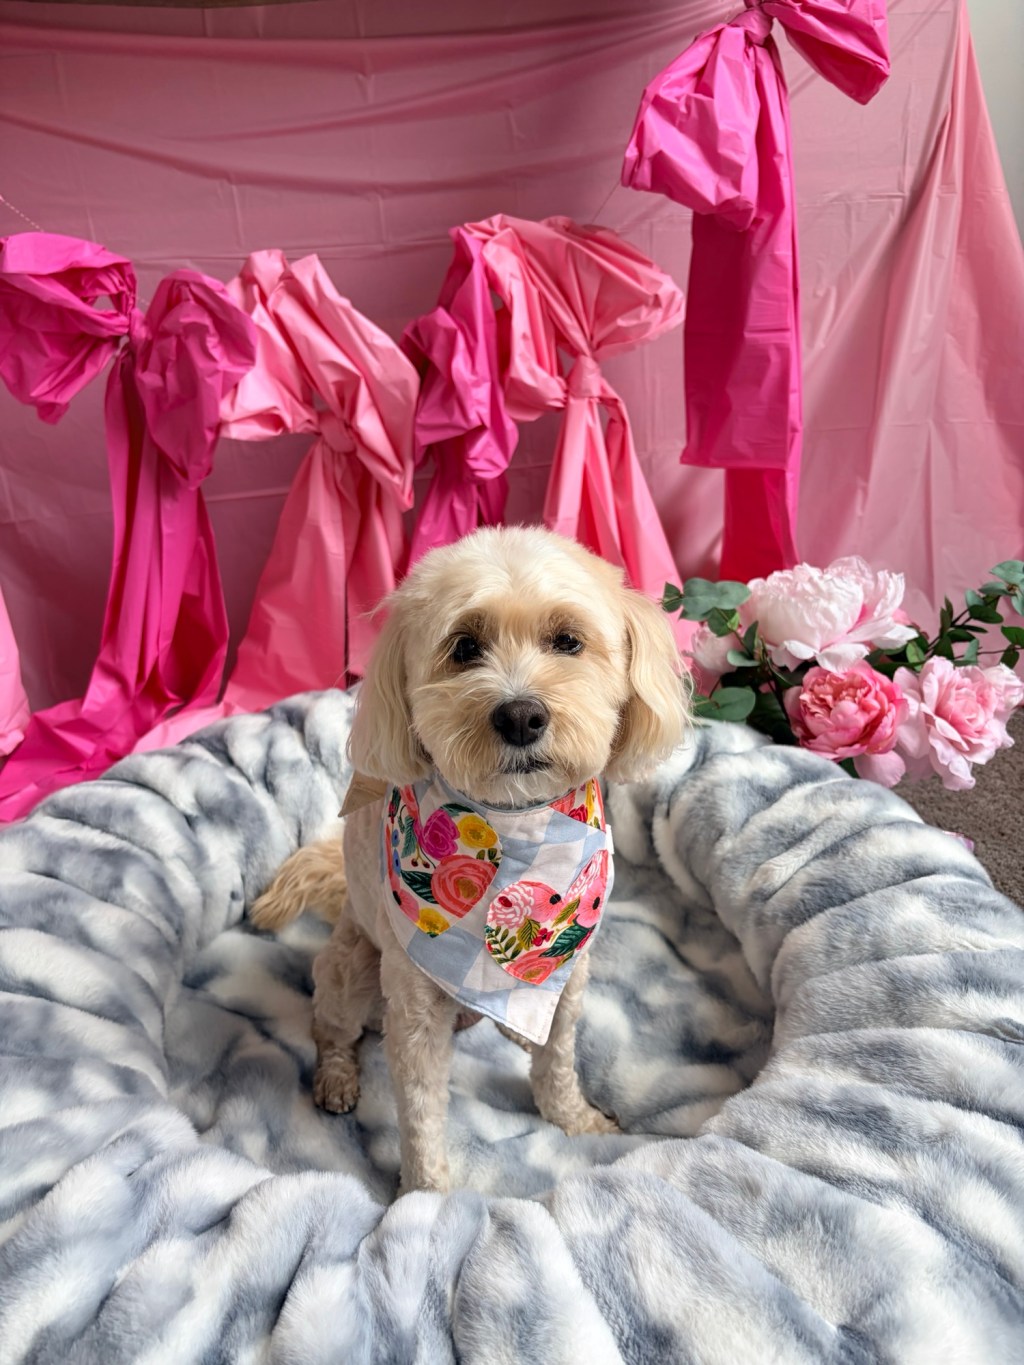
So if your dog is anything like mine, the perfect moments you want to capture are always fleeting. Take a second too long and it’s too late, and your dog isn’t going to just rewind and do something funny for you again—ah, so frustrating.
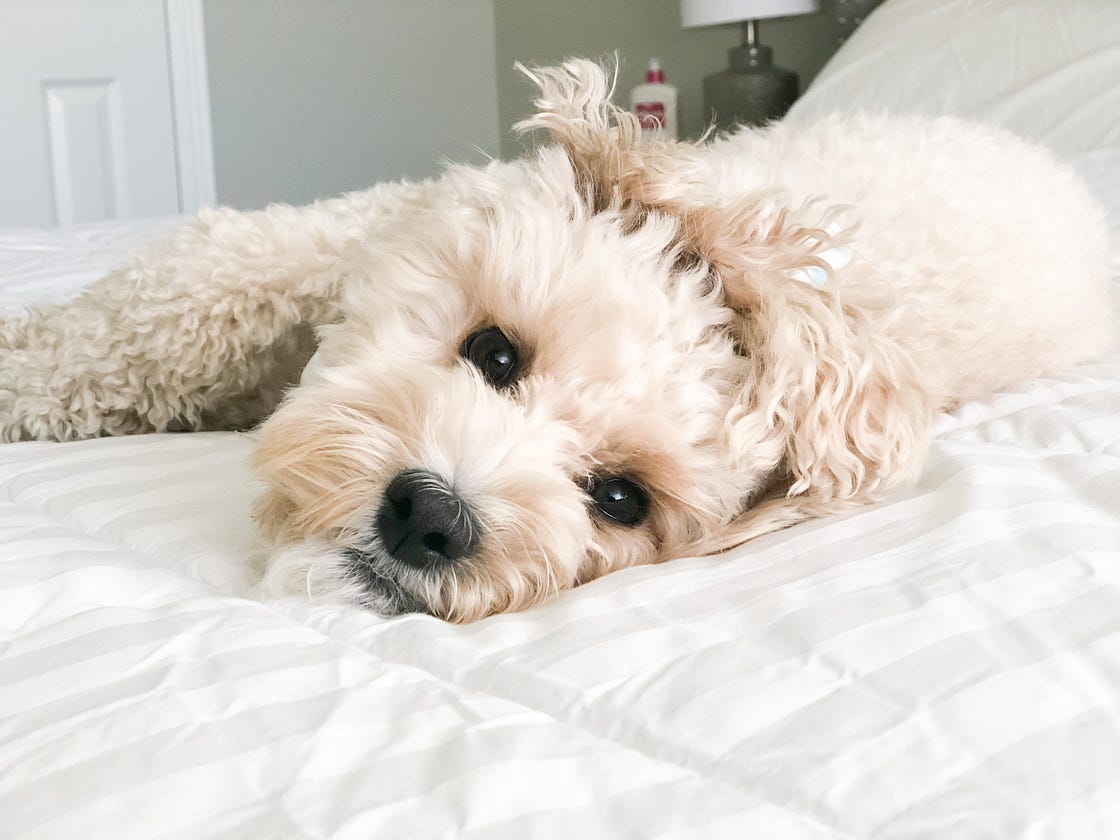
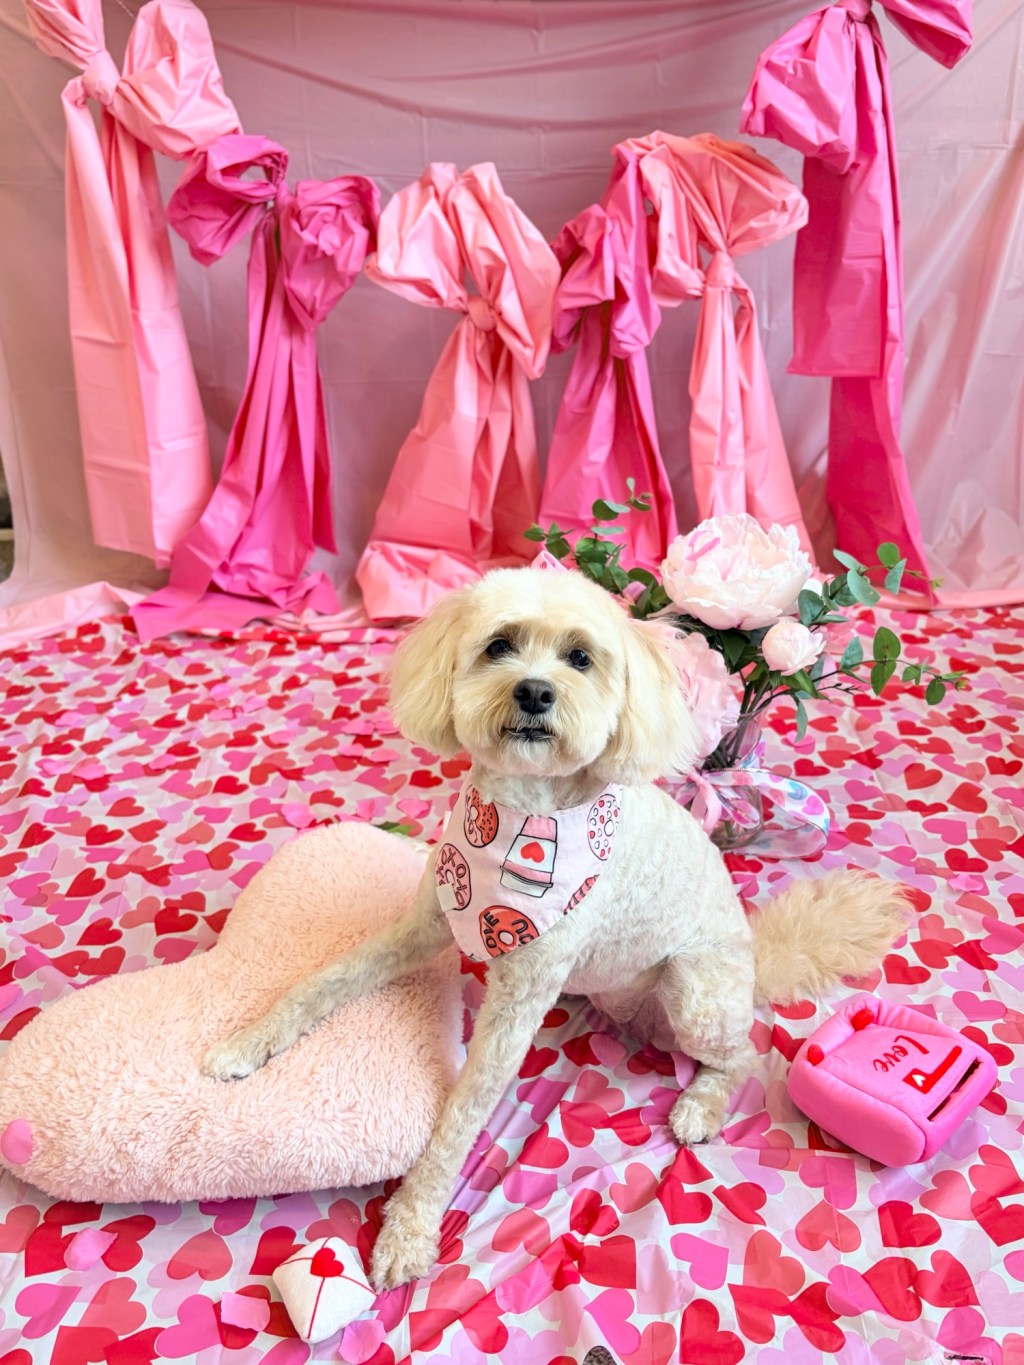
But with iphone or smartphone photography, I feel like I can pull out my camera at a moment’s notice and have been able to capture some really funny and sweet moments of my pup, Honey (find them below for your enjoyment 😉

The Right Settings to Shoot Perfect Pics
So, what are the best settings for your phone to capture these moments?
I can only speak for my iphone because I’ve never actually used an android, google pixel, or any of the other choices out there.
I have found success with my iphone 13’s portrait mode, but have made some tweaks to get better pictures that aren’t too blurred in the background.
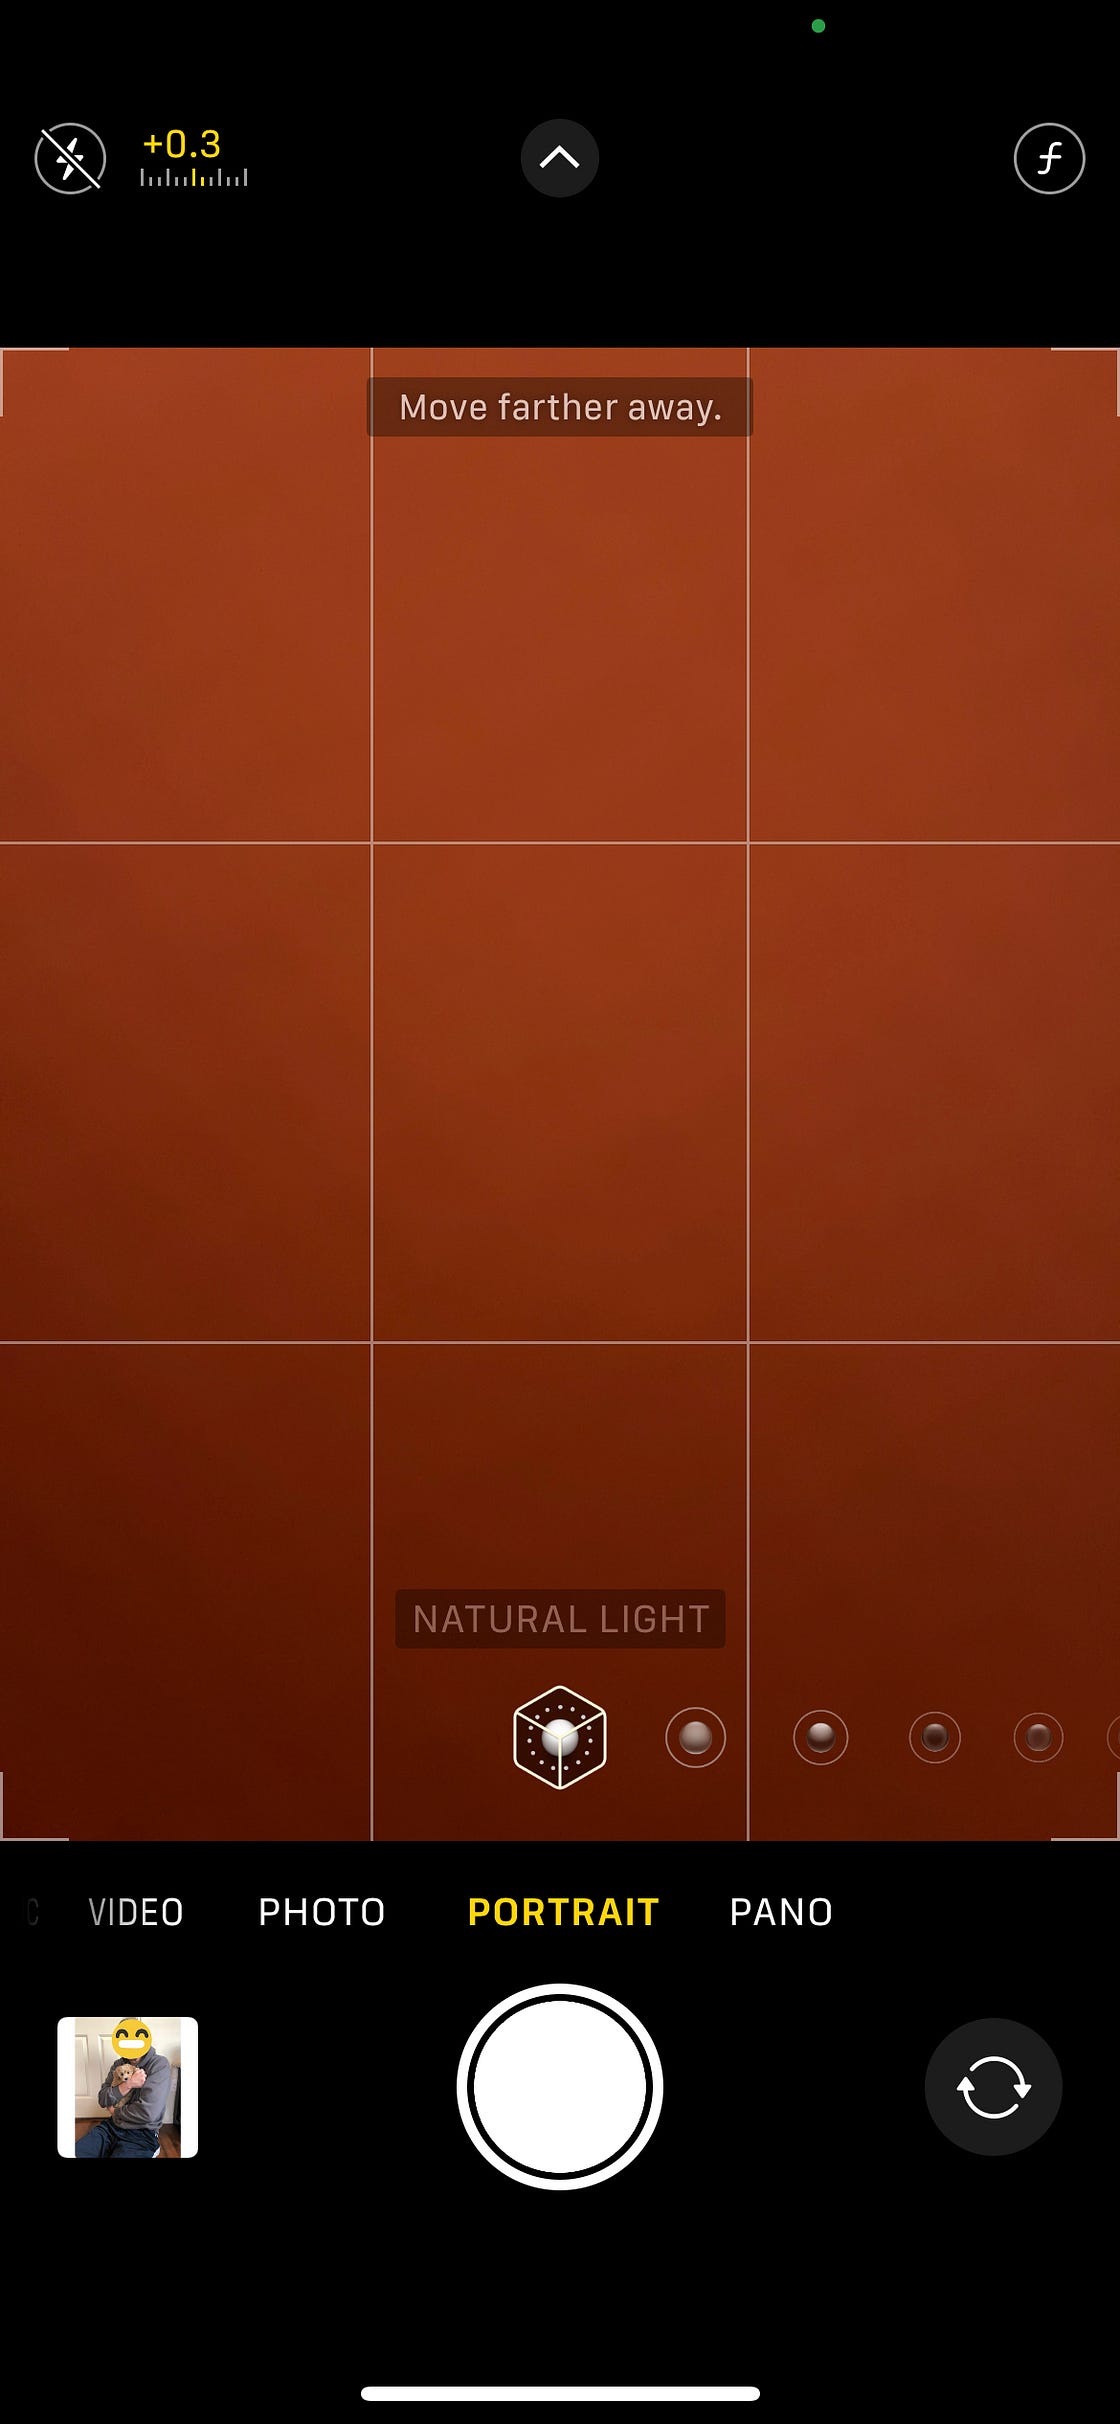
See that little white arrow pointing up in the screenshot? Just click that and it gives you more settings to play with (including flash, exposure, timer, filters, and depth of field.
The depth of field is how I adjust how much is blurred in portrait mode. Just slide the slider from left to right to play with how much blur you want (I like to make sure I adjust this correctly especially if I need to get a brand name in the shot for photos for collaborations).
I also always priortize using natural light (whether I’m near a window when I’m indoors), so I always keep it on the natural light setting you can see at the bottom).
I also have to choose wisely which times I choose to use portrait mode or just normal photo mode. If I know I need to take action photos/fast photos that need to have a full depth of field with no blurring, I make sure I stay in the normal photo mode.
Just click on the white arrow again at the top to go back to being able to select what format you want to shoot in (eg. photo, portrait, pano, video, etc).
Once I know I have the right settings to shoot in, it’ll be a LOT easier to go back and edit. Note that I don’t shoot WITH a filter, but keep it as “original” and do all the editing later in Lightroom.
Editing
Lightroom is a fantastic choice for editing your photos on your phone. The app itself is free, but you may consider upgrading if you’re already needing other Adobe products, or you’ll need more heavy duty features like “healing,” “masking,” etc to edit out unwanted objects from your photos (including leashes, etc.) of your pets.
I pay for an Adobe plan with just Lightroom + Illustrator and it’s been worth it to me.
See some examples of what I’ve been able to do in MINUTES in Lightroom on my phone to edit out unwanted objects.


What I love though, is how easy it is to apply a preset/effect on photos in Lightroom. You can easily do this by purchasing a preset, but you can also just go in and adjust settings like “exposure,” “shadows,” “highlights,” and “blacks” under the “light” setting at the bottom of the editing window to turn up the light, tone down the dark and give your photo a more light + airy look.
If you’re interested in just buying a preset that you can easily apply to all your photos in just seconds you can also purchase my light + airy presets HERE.
Did this help you get the effect you’re after in your photos? Let me know what helped and what other tips/suggestions you have in the comments below!💕
Follow all of my adventures/recommendations~
Don’t forget to follow me on all my doggo adventures and see what life’s like with an f1b cavapoo! ⬇️
🐾Website: honeyboothecavapoo.com
🐾Instagram: @honeyboothecavapoo
🐾Pinterest: honeyboothecavapoo
🐾Youtube: @honeyboothecavapoo
🐾Email: honeyboothecavapoo@gmail.com
Shop my small biz codes for a discount:
🎀 food/treats: @chippintime CODE: HONEYBOOTHECAVAPOO
🎀harness: @lucyandco CODE: LCHONEYBOO
🎀 leash/hygiene: @sleepycottonco CODE: HONEY_BOO10
Shop my recommendations for doggo grooming/care products ⬇️


Leave a comment